VirtualBox is a powerful virtualization software, it can create virtualized computer hardware, so we can install and run an operating system on the virtualized hardware.
As most big data analytic software are developed on Linux platform and are very friendly to Linux, we used VirtualBox to create a virtualized computer and installed the Ubuntu linux system on it for you to play with.
You can use this virtualized computer system to learn the big data analytic software taught in this course.
We call this Ubuntu linux system guest system, call our own real operating system on which VirtualBox is installed host system, we put it here so you can understand the terms in the following paragraphs.
If you want to use the image in your own computer, you need to install VirtualBox and import our course image 2.64GB), if you only use it in the Lab, you don't need to import, because we have already done it for you.
Open VirtualBox, then click File->Import Appliance, choose the VirtualBox image, it is called BigDataLab_2016.ova in this course, and check the last option: Reinitialize the MAC address of all network cards
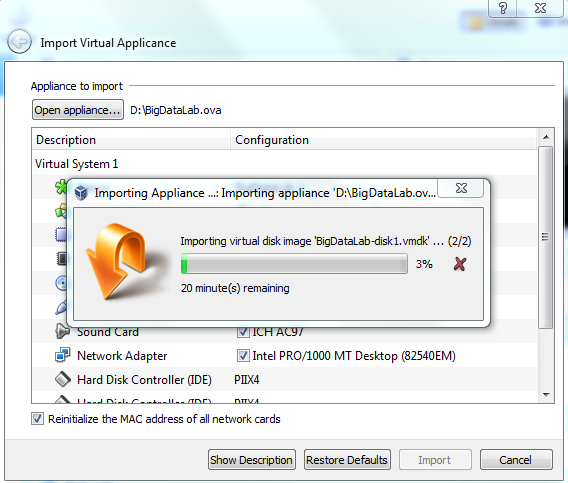
It will take about several minutes to import.
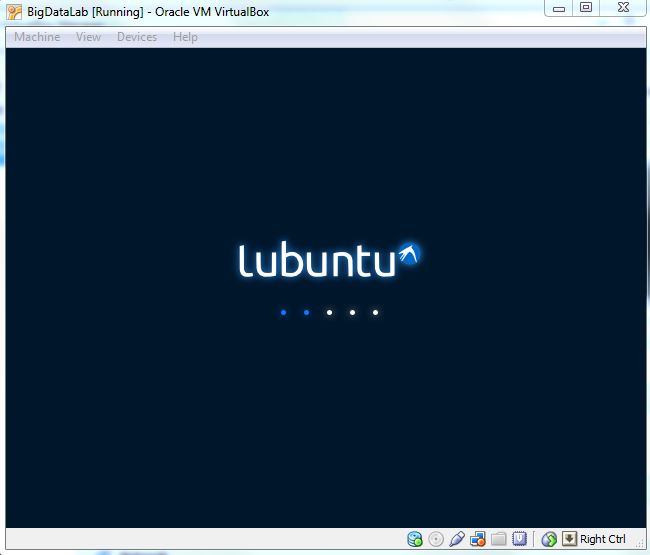
If the image has already been imported, you can start VirtualBox, and click the green Start button, the guest system will start.

For your information, we are using a Linux based system Lubuntu.
Username/password: bigdata/bigdata
The boot process is like this:
Just close the guest system window, it will pop up a window like this:
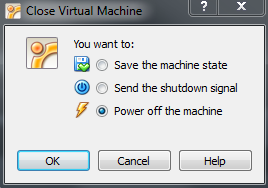
choose the last option: Power off the machine and it will shutdown soon.
Sometimes you need to exchange files between the host system (the "outside" system) and the guest system (the virtual system). E.g., saving your work done in the lab, or moving files from your laptop to our lab's virtual system. You can do this by sharing a folder between the host and guest systems.
We need to config both of the host system and guest system.
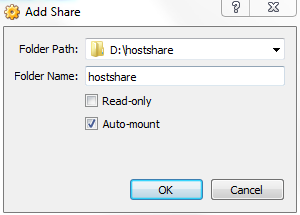
1. Create a folder on the host system. For example, I create a folder named hostshare on D disk drive, and I put some files in that folder for future use.
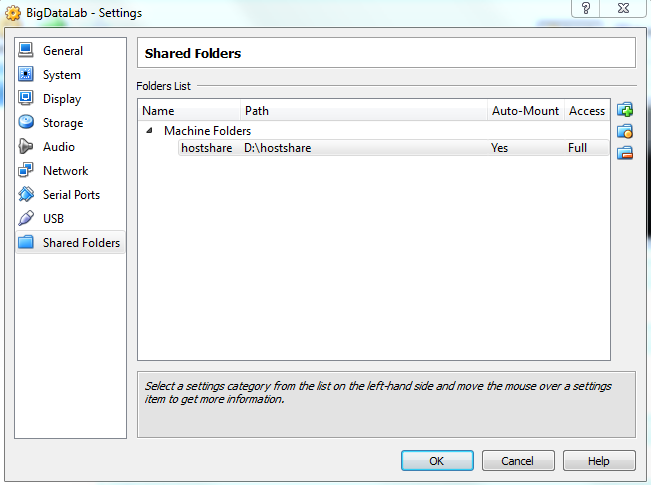
2. Then I shut down the guest system and return back to the VirtualBox
Manager window, click Settings->Shared Folders,
then click the right add button, browse to the hostshare folder we just created, like this:
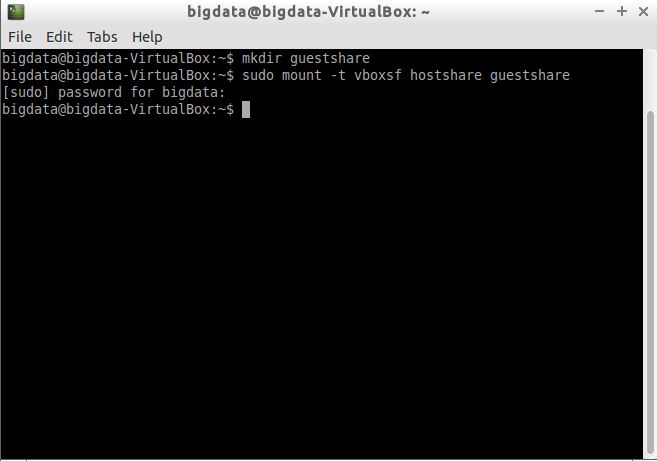
Then start the guest system, open the terminal, do the following commands(blue lines are the commands):
mkdir guestshare
sudo mount -t vboxsf hostshare ~/guestshare
If the host system is MAC OS, you should use the following command
sudo mount -t vboxsf -o
umask=002,uid=1000,gid=1000 hostshare ~/guestshare
the password for bigdata is still bigdata.
It is like this:
Now you can use File Manager to open this guestshare folder, all the files under that folder are actually located in the hostshare folder, so you can add files to your hostshare folder, and the guest system can see it immediately under the guestshare folder.
Suppose the contents of the hostshare are these:
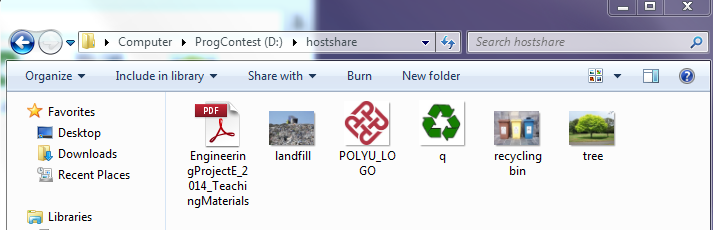
Now we can access these contents from guestshare, it is this:

You need privileged right to manipulate files in the share folder.
sudo touch ~/guestshare/test.txt
sudo rm ~/guestshare/test.txt
If you are working on your own computer, the work you did will be saved in the virtual machine. You can find them after rebooting the virtual machine.
BUT if you are working on our lab's computer, your work will not be saved in the virtual machine and will be lost after reboot. So please remember to export your work (via shared folder described earlier) and save it elsewhere before leaving the lab.